pages

Tuesday, July 29, 2014

BOYS RULE - Easy ideas for creating boys pages

If you have sons like me, or you want to create masculine layouts for the boys in your family you probably find fewer ideas and less inspiration then you would for girly layouts. Face it, most of us are girls! We like girly things and sometimes we prefer to create girly layouts.
Well, I want to share some boys layouts ideas and challenge some conceptions about creating boys layouts!

1. Scrapbook his position in the family
Scrapbook their place in the family, the relationship with their brother or sister. I think the most fun layouts are of that magical brother-to-brother relationship with all their games, codes and shared experiences.


2. Scrapbook his activities & interests
Some boys' hobbies and activities are full of movement and speed, some are quieter and easy going, and there are some activities which utilize more brain power then muscle power. Whatever activity your boy is doing you can create a wonderful layout to showcase it.


3. Scrapbook special moments
If your boy is a teenager you probably know that hugging or any kind of PDA (public display of affection) is a big no no. So if you have special moments with your son, capture them on camera and create a page.


4. Flowers are not just for girls!
I love using flowers on my sons' layouts and I don't think it's too girly. You're boys layouts can be just as flowery and just as cheerful. As long as you add the right amount in the right color flowers will be a great embellishment to any boy layout.


5. Scrapbook his mood
Being a teenager is not easy. Your mood is like a rollercoaster, sometimes it's up and the next minute it's down. Capture those confusing moments, there are a part of your boy's growing up.


6. Scrapbook his goofing around
Boys are really good at making funny faces, playing pranks and goofing around. these funny moments can become great pages of fun memories.


7. Scrapbook his dreams
Create layouts that tell the story of his dreams or showing him daydream about the future. It will be so much fun looking back at these pages in a few years and reminisce about what dreams he once had.


8. Scrapbook his portrait
If he'll let you take such a photo Lol. You can create a layout with a current photo or create the layout with a selection of photos that show his portrait through the years and how much he has grown.

Do you need a little motivation to create some boys layouts? I hope these ideas helped you and gave you a starting point. What is your best idea?

Follow me on Facebook and YouTube for more crafty treats!

Have fun creating!
Einat
 

Saturday, July 26, 2014

I'm Grateful Mini Envelope Box

The past few days were crazy. Our country has been under rockets' attacks and life has been scary and stressful. I found it really hard to create anything, my mind just didn't have the energy to think about and be full of ideas like it usually is. I asked for some advice from my dear FB friends and they said "start with something small". Well...I decided enough is enough, I would force myself to create something, something small.


During the past few days I had a lot of time to think about what I'm grateful for. Rockets tend to put things in perspective...
I wanted those things I'm grateful for to be with me all the time so I'll never forget, so I created a little mini envelope box to hold them.


This box will be my treasure box filled with photos of my family and friends and small cards with inspiring words and sentences written on them, the kind of words that inspire me and give me strength.


Thank you dear friends for standing with me, for supporting, praying and caring so much. You gave me so much strength and hope and I love each and everyone of you.
THANK YOU!

What kind of treasures would you carry with you?

Follow me on Facebook and YouTube for more crafty treats!
Have fun creating!
Einat

Tuesday, July 22, 2014

10 reasons to create mini albums

Mini albums are one of the fun things to create in scrapbooking and paper crafts. I often get asked what's the point? what's so fun about mini albums? The answers to me are clear and I want to share them with you.


 1. Manageable Project
For some people, especially me, the thought of starting a big 12X12 scrapbook is just too overwhelming. When I know there is a beginning and an end to a project it looks much more doable.


2. So Much To Do So Little Time
Some people may not be overwhelmed by a large scrapbook they just don't have enough time. A mini album can be completed in one or two sittings. It can be done in a crop night, a class or with some friends.


3. Tackle a Subject
A mini album is usually about one person, place or occasion. That gives me much more freedom and choice with my photos. For example: if we go on a family vacation or even a day at the beach how many pages can be devoted to it in the big family scrapbook? not many, right? you need to choose only a few photos. However, in a mini album you can use many more photos and capture the experience much better.


4. Design Continuity and Freedom
It's much easier to create in designing terms. You can use matching papers and embellishments and create a design "language" to coincide your theme. Another advantage is you can go wild with shapes and page sizes as well as page materials.


5. Photo Organization
It makes life easier (at least in terms of photo organization) if you organize photos according to the mini album you are planning. Actually it makes it easier even in the stage of taking the photos because each event or theme can be divided into little sub stories. For example: First day of vacation, second day...etc. If you take the photos with that in mind and later organize them like that on the computer they'll be easy to find, go through and pick.


6. Number of Photos
many times you either have too many photos and are left with extras or too little photos for a large scrapbook. A mini album is the answer for both situations.

7. Cost
In the state of the current economy buying lots of supplies for a large scrapbook can be too expensive. However when you create a mini album you can create a beautiful project for less money, because working with small pages allows you to use scraps of paper, ribbons and embellishments.


8. Storage
Small in size, mini albums are more portable and easily stored. No need for huge bookcases that will hold 12" tall albums. You can also take them with you to show off your photos and creative skills!


9. Creativity
Designing smaller pages, you don't need to worry about having enough creativity flowing to cover numerous 12x12 pages. You can also use the mini album to try new techniques and materials in a smaller scale before doing them on a full scale.


10. Gifts
Because they are fast to make mini albums can be great gifts for family members, friends, co-workers, teachers and the list goes on. You can create the mini album with photos or design empty pages living spaces for the photos to be added later.

Did I convince you? With so many advantages I don't see how not!
Write a comment to this post sharing a link to your mini albums, so we can have more inspiration and fun!

Have fun creating!
Einat

Tuesday, July 15, 2014

Metal Charm - add shine to your creations

In today's crafting we use different materials and textures to create interesting striking projects. I think the more diversity in our projects the better they look and we have more fun creating them. One of my favorite ways to add magical shine, interesting texture and industrial look to my creations is using metal.

Metal can be found all around us and it's easy to come by. It comes in so many shapes and sizes and fits any project you want to create. By using different metal embellishments and incorporating them in different mediums you can create different looks to your projects.

Industrial/Steampunk

3D metal man created from metal gears and clock parts


Industrial canvas with lots of metal parts and embellishments


Using metal parts with an industrial look such as gears, clock parts, cogwheels etc. can produce a steampunk look to a project. Keep the metal parts in their original color or add industrial colors such as rust, copper, black and bronze. You can get parts like this in DIY stores, garages, industrial sites or buildings as well as online stores who specialize in metal embellishments and vintage parts.

Jewelry

Triple window with jewelry parts


Jewelry pieces have unique textures and shapes and are perfect for craft projects especially 3Dcanvases or altered art. They can be added in their original color and shape or they can be altered first by coloring them or priming them. I have a box full of jewelry parts that I got at flea markets, garage sales and even some old jewelry from my grandmother.

Textured embellishments

Frame with metal buttons


Layout with metal embellishments


Sometimes you don't want metal to be the focal point or the center of your project, but the shiny look of the metal can brighten up and add a different look to your creation. It can be small metal beads or a few metal rings to add a little bling or metallic feel to a project. You can also use metal buttons for extra shine and romantic feel in a project.

Have you tried using metal in your projects?

Follow me on Facebook and YouTube for more crafty treats!

Have fun creating!
Einat


Tuesday, July 8, 2014

Hot Ideas for Capturing Summer memories

Ah, summer, what power you have to make us suffer and like it. ~Russel Baker
It's hot, it's humid, it's sticky and it's here! Summer! We love the long days, the sunshine, going to the beach and not going to school. We go on family vacation, go camping, and generally have loads of FUN! Part of my summer fun is to record these wonderful memories by creating fun layouts and mini albums. it's really great sitting on the carpet on a cold winter's day looking through all those summer layouts and remember the fun we had.
Here are a few hot ideas for creating layouts that will capture all your family summer fun!

Wet Layouts
Who doesn't love going to the beach or the swimming pool to cool off in the inviting blue water?  The water is always a great background for taking beautiful photos with a calm atmosphere or a splatter! There are so many activities to capture: swimming, diving, splattering, collecting sea shells, walking on the beach, learning to swim and so many more. Photograph as many as you can and create wet layouts or a wet mini album.


Going Camping
Not only for boys...camping is a family adventure full of photo opportunities. Building a tent in the woods, cooking dinner on a fire or sleeping under the stars, are all part of the camping fun. I even like to take a picture of the preparations, they are not less fun!


Summer Holidays
4th of July is a great photo opp. All the decorations and the fireworks are the perfect backdrop for festive photos and coordinating layouts!


Exploring The Great Outdoors
Hiking, walking, driving are all wonderful ways to spend the day exploring the wonders of nature and being outdoors. Having a picnic or swinging on a hammock are so relaxing and inspiring and can bee a source for funny and goofy photos, especially if the hammock doesn't want to play along...


So many ideas, so little time!
What are your ideas for creating special memories this summer? What ever they may be I hope you will have lots of fun and relaxing time with your family and friends!

Follow me on Facebook and YouTube for more crafty treats!
Have fun creating!
Einat

Saturday, July 5, 2014

Forever House Calendar

One of the greatest puzzles of life is what influences a person more: environment or genes. In my case it's definitely both...my dad, who is an engineer, on one side and my love of crafting on the other, have both planted the love of building in me. every now and then I get the urge to build something. I'm talking about paper engineering, 3D crafting at its best. This time I built a House Calendar, which is basically a forever calendar for important dates that does not last only one year but forever.


How does that work? Each month has a little "room" in the house and in it a card or cards with important dates like mom's birthday or grandparents' anniversary, regardless of the day in the week or month.


My inspiration came to me from a chipboard window I had and decided to extend it. I build the outside frame and inner walls around it and according to its measurements. It might look a little difficult but building 3d structures from chipboard is actually easy if you measure accurately.


I used Bo Bunny patterned paper and some Prima flowers to cover and embellish my calendar house. I also finally used some old chipboard numbers I had, so this project was a de-stash adventure too. You can find all the details and measurements in the video.

Have you ever tried 3D building? Tell me about it!

Follow me on Facebook and YouTube for more crafty treats!

Have fun creating!
Einat

Tuesday, July 1, 2014

10 essentials for creating craft video tutorials

As promised from last week I want to share with you all what I think are the 10 essential things you need to know to create great craft video tutorials. This is a list for all of you out there who are at the same place I was a year ago. I hope it will help you get started:

1. Get Equipped
Make sure you have the right equipment to create your videos. I'm not an expert on technology and all the gadgets that can help you with this process I can only share the way I do it and the equipment I use. First I record the video on an HD video camera mounted on a tripod on my desk above my hands, then I download it to my computer. I use Movie Maker to edit the video and add a narration and music. The editing programs are easy and friendly and you can learn how to use them online. Also remember to make sure you have good lighting and that the camera doesn't cast a shadow on what you do.


2. Don't be afraid
The best place to start is to start. Practice makes perfect. Start with a short video and practice the process of filming editing etc. Cast the doubts away. You don't have to compete with anyone, there is enough room for all crafter, levels and projects.


3. Find what works for you
There is always more then one way of doing things. If you feel nervous talking while you record then add a narration later. It will also sound better then recording your voice directly on the camera. You can also do a video with captions (very easy to do on any editing program) and not talk at all. If you are uncomfortable doing a live show record your video and edit it. Find out what works for you and start there.
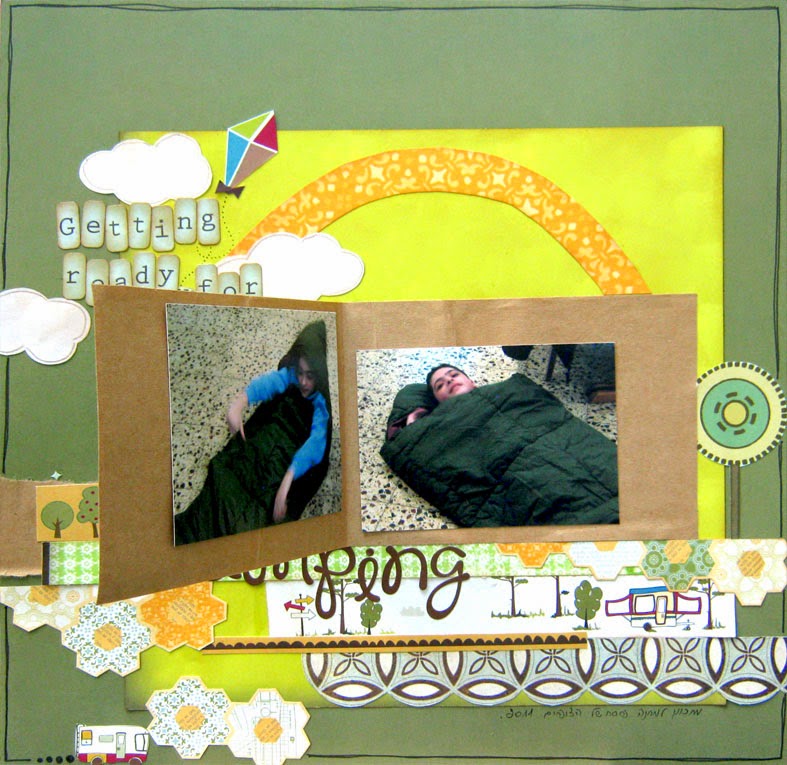
4. Choose a project
Choose a project you feel comfortable doing. If you're a scrapbooker and you feel comfortable creating a mini album don't create a mixed media canvas. Don't choose a project or a craft you never did before or not sure how to do. Creating something you are familiar with will result in a better, more flowing and confident video.
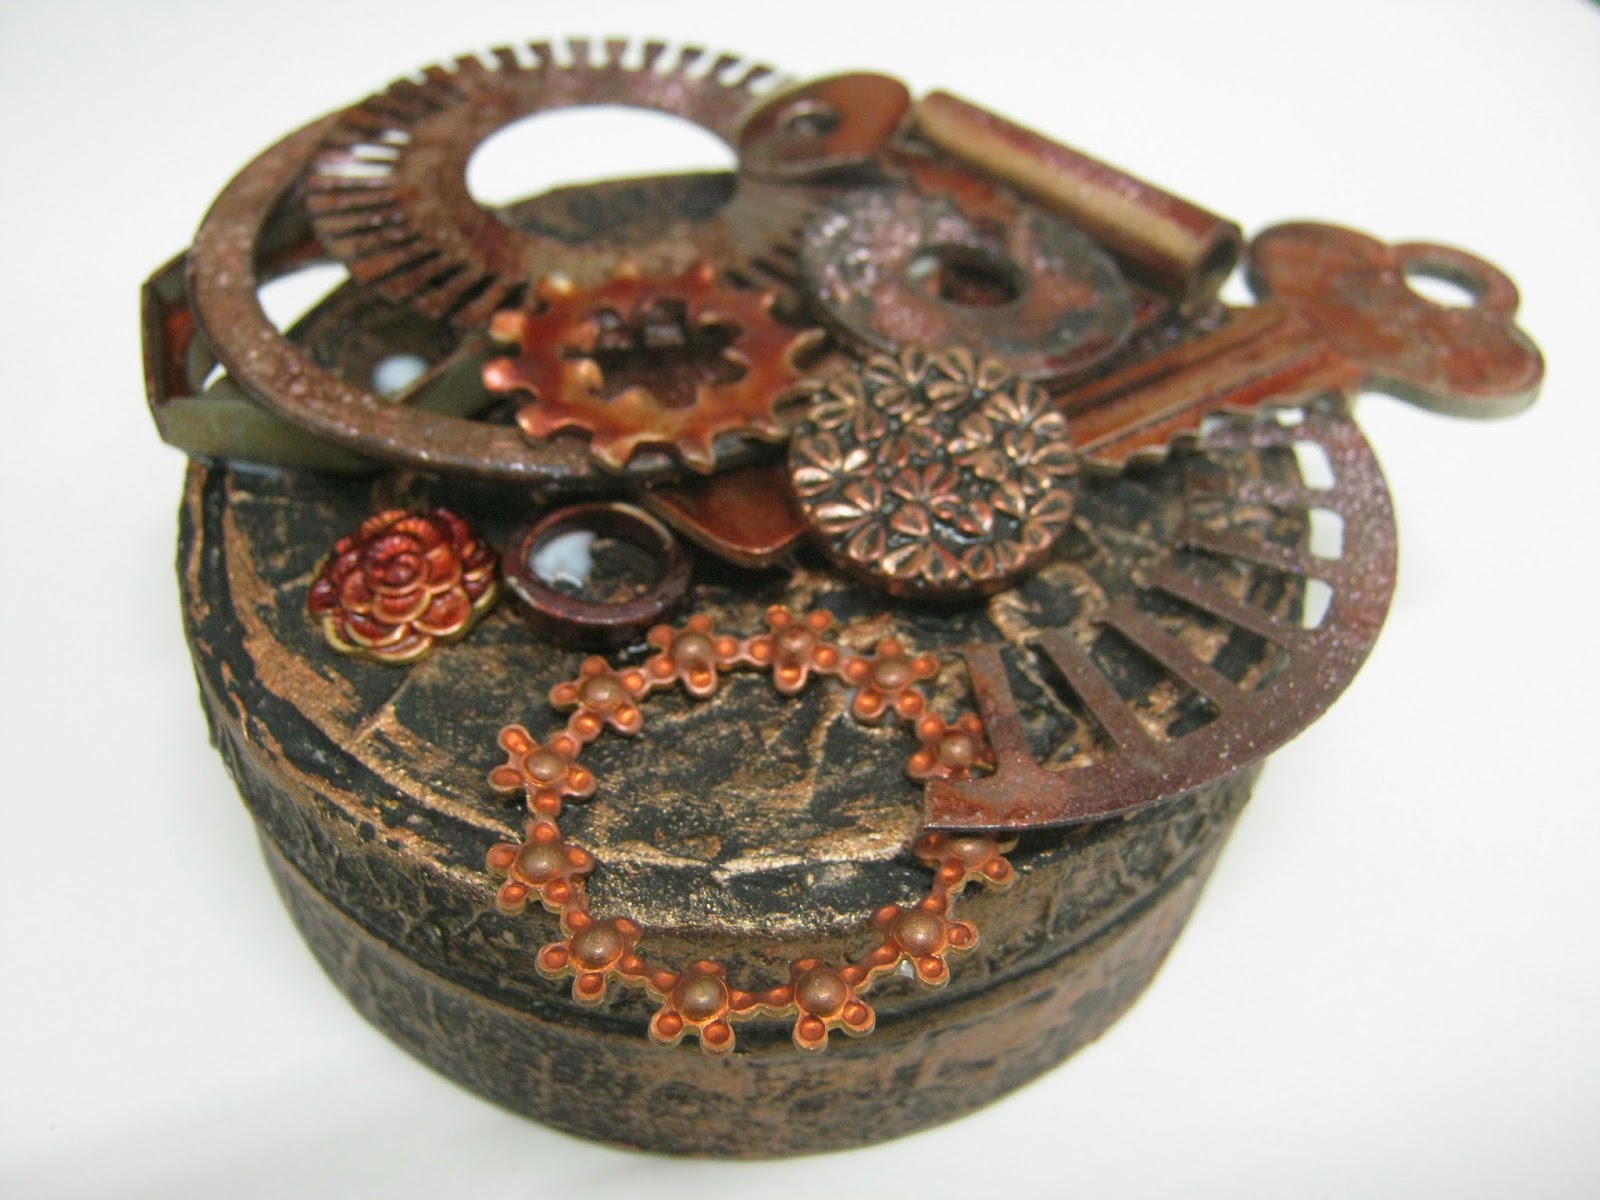

Steampunk is anew love I mastered


5. Be prepared
Arrange all the supplies on your work surface in advance. Make sure you have all the materials and tools you need. There are two types of crafters: those who only need an idea of the project they want to make (like me) so they film the tutorial as they create. And those who first need to create the project and then repeat the project and film the tutorial. Figure out which type you are and prepare accordingly.

6. Set up a channel
Set up a channel on You Tube, Vimeo or both. Learn how to upload the movies, title the video,write the description, choose the right thumbnail and most importantly tag your video. Try to use accurate tags and use then in your video title and description. The tags should include the words in your title, materials you used, colors, size, companies etc.
Start a show, a series of videos under one brand, mine is Saturday MIXTRAVAGANZA. All the videos have the same opening title and structure as well as a publishing schedule. Your channel can have a few different shows all under your name.


7. Commit
If you want to build your audience you have to commit to your channel. Set a schedule and stick to it. I publish my videos every Saturday afternoon. Over time people will come expect and wait for your videos and will appreciate your work and commitment.

8. Create a good tutorial
Create a short, clear informative tutorial. Make sure to film all the steps of the project and don't skip any important information. Keep the camera at the right distance and zoom in when necessary. Don't clutter your filming area with materials or tools. The filming area is the square that the camera captures while filming. Keep it clutter free so viewers will not be distracted. Add a detailed supplies list at the beginning or the end of the video. Be your self and have fun! people will appreciate you're sharing your knowledge and taking the time to do this.

9. Promote your video
Promote your video on social media like Facebook and twitter. Add a link to your website or blog in the video and embed the video in a blog post. This way they'll promote each other.


10. Engage with followers
When your audience starts to build and people leave comments or like your video it's important to engage with them. Make sure to answer questions and give necessary information. If you mention a sketch on the video be prepared to send it upon request, have giveaways or even start a VIP club for those who engage with your videos the most.

These 10 essentials sum up a magical You Tube year and a long learning process. I hope you'll find them useful and inspiring. Just remember to be yourself and have fun!

Follow me on Facebook and YouTube for more crafty treats!

Have fun creating!
Einat